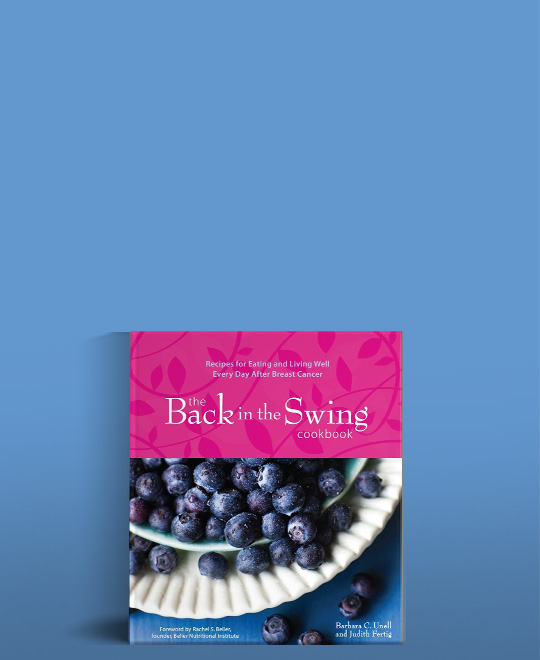
Recipes that are easy to prepare, with fresh ingredients designed to help breast cancer survivors get back in the swing of joyful, healthy living.
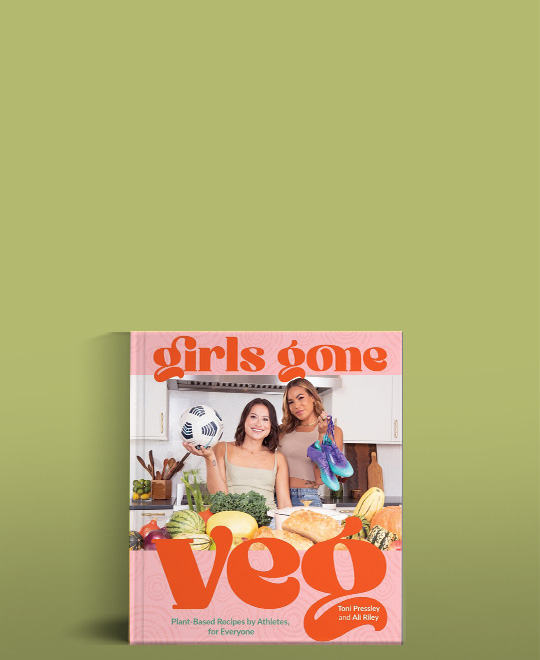
Pro soccer players Ali Riley and Toni Pressley prove going vegan is easier than you think.
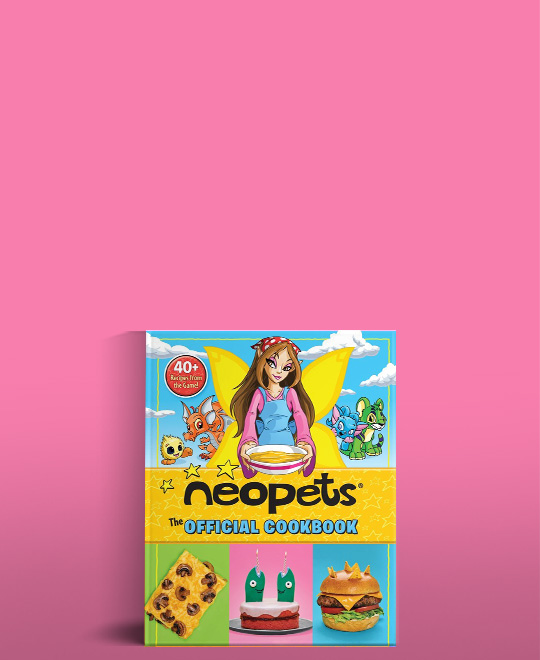
Learn how to assemble Neopia’s finest feasts